Transfer Photos from iCloud to External Hard Drive
Although, iCloud Photos is considered to be a safe and secure place to store photos, it is still a good practice to download all your Photos from iCloud to an External Hard Drive as a precautionary backup. Having an additional backup of Photos on an External Drive ensures that you do not lose your precious memories, if something happens to your iCloud Account or you end up losing Photos due to a technical glitch. As mentioned above, the most common reason for transferring photos from iCloud to External Hard Drive is to Free Up iCloud Storage Space by deleting iCloud Photos after transferring them.
1. Transfer Selected Photos from iCloud to USB Storage Drive
Follow the steps below to Transfer Selected Photos from iCloud to USB Storage Drive.
Using your Mac or PC, go to icloud.com.
Login to your iCloud Account by entering your Apple ID and Password.
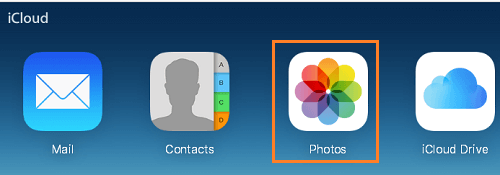
After you are Signed-in, click on the Photos Icon.
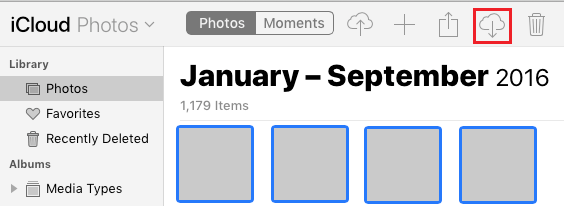
In iCloud Photos, switch to Photos Tab > select Photos that you want to Transfer and click on the Download Icon.
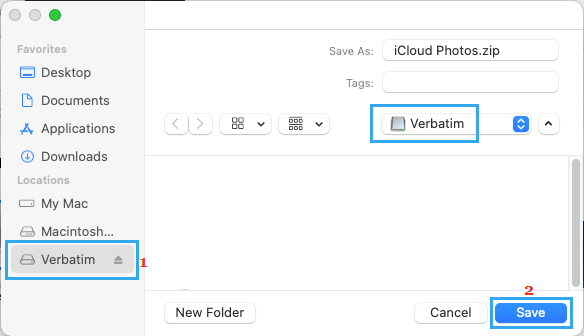
Note: If you are on Mac, use the Command key to select multiple photos and on PC use the Ctrl key. 5. On the next window, select the USB Drive in the left-pane and click on the Save button.
All the selected Photos will be downloaded to the USB Drive in Zip Format.
2. Transfer All Photos from iCloud to External Hard Drive
Currently, the download limit for iCloud Photos is 999 photos. Hence, if you have more than 1000 photos, try to download them in batches of 500 photos at a time. To select 500 Photos, click on the First Photo > Scroll down 50 rows > Hold the Shift key and click on the Last Photo in 50th row. If you have less than 1000 photos, you can follow the steps below to select All iCloud Photos and download them to an External Hard Drive.
Using Mac or PC go to icloud.com and login to your iCloud Account.
After you are signed-in, click on the Photos Icon.
In iCloud Photos, switch to Photos Tab > press Command+A to select all Photos and click on the Download Icon.
Note: If Command+A is not working, make sure iCloud Photos is enabled on your iPhone. 5. On the next window, select your External Hard Drive in left-pane and click on the Download button in right-pane.
All the selected Photos will be downloaded to the External Hard Drive in a Zip file format. Note: At the time of writing, iCloud download limit stands at 999 photos at a time.
How to Transfer WhatsApp Photos From iPhone to PC or Mac How to Upload Photos to iCloud from iPhone, iPad & Mac