Transfer Photos from Android Phone to Computer
The storage space on mobile devices is limited, which makes it necessary to periodically free up storage space on your device by transferring photos to computer, Google Cloud or other Cloud Storage Services. While keeping Photos on a Cloud Storage Service has its own advantages and disadvanatges, transferring Photos from Android to computer is easy and free. The first method makes you feel more in control, while the second method automates the transfer process and even organizes the Photos based on Year and Month, the photos were taken.
1. Transfer All Photos From Android Phone to Computer
The easiest way to transfer Photos from Android Phone to computer is to manually copy Photos from their storage location on Android Phone to a Folder on your Windows computer.
Plug Android Phone to computer and open the File Explorer on your computer.
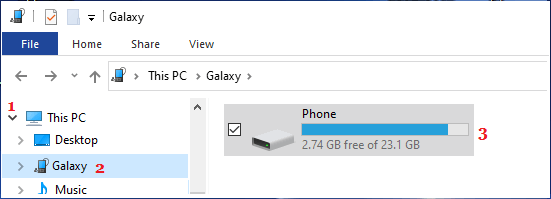
On the File Explorer screen, expand This PC entry > select your Phone in the left-pane and double-click on Phone in the right-pane.
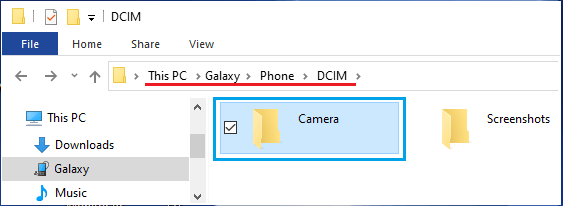
On the next screen, open DCIM Folder and drag the Camera Folder to Desktop.
Patiently wait for all the Photos to be transferred from your Android Phone to computer.
2. Transfer Selected Photos From Android Phone to Computer
Plug Android Phone to PC and open the File Explorer on your computer.
On the File Explorer screen, expand This PC > select your Android Phone in the left-pane and double-click on Phone in the right-pane.
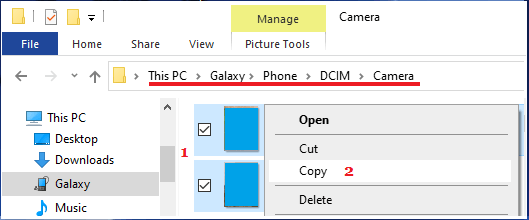
From the next screen, navigate to DCIM > Camera > select Photos that you want to transfer to computer. Once, the Photos are selected, right-click and select Copy option in the menu that appears.
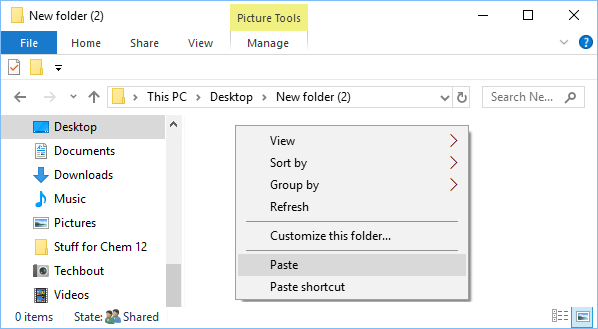
Note: To select multiple photos, press and hold the Ctrl Key and select photos that would want to transfer. 4. After Photos are copied to clipboard, open an Empty Folder > right-click and select the Paste option.
Note: You can also drag the Photos to Folder or use Ctrl + V shortcut to paste photos into the Folder. Depending on the number of images, it can take anywhere from a few seconds to a few minutes to transfer Photos from Android Phone to PC.
3. Transfer Photos From Android Phone to Computer Using Microsoft Photos App
The native or built-in Microsoft Photos App as available on Windows computers makes it really easy to transfer photos from Android Phone to PC.
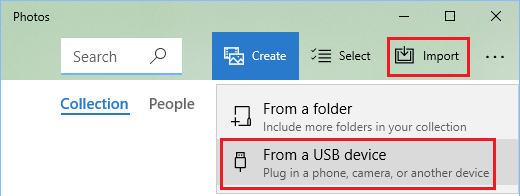
Plug your Android Phone to Computer > open Microsoft Photos App > click on the Import icon and select From a USB device option.
The Photos App will start scanning for Photos in your Android Phone and list them for you. This process can take a while, depending on the number of Photos in your device.
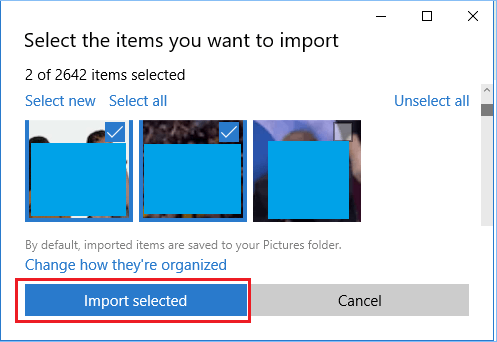
Once the Photos are listed, you can select All Photos by clicking on Select All or select Individual Photos that you want to transfer and click on Import Selected button.
Once you click on Import selected, Microsoft Photos App will start the process of Transferring Photos from Android Phone to computer. The Photos App automatically creates new Folders to store the transferred Photos. The Folders will be created within the Pictures Folder and named according to Year and Month in which the Photos were taken.
How to Transfer Photos From Android Phone to Mac How to Transfer Photos From iPhone to Windows PC