Reset Network Settings in Windows 10
Resetting Network Settings is a widely used troubleshooting method used to fix network connectivity issues on computers and mobile devices. When you Reset Network Settings, any intentional or unintentional changes made to Network settings on your computer will be undone and your device will go back to Factory Default Settings. While a Network Settings Reset does not erase any data from the computer, it removes all your current Wi-Fi, Ethernet and VPN Networks from the computer. Hence, make sure that you note down your WiFi Network Password and VPN Network details, before going ahead with the steps to Reset Network Settings on your computer.
Steps to Reset Network Settings on Windows PC
If your computer is experiencing network connectivity issues, you can follow the steps below to Reset Network Settings on your computer.
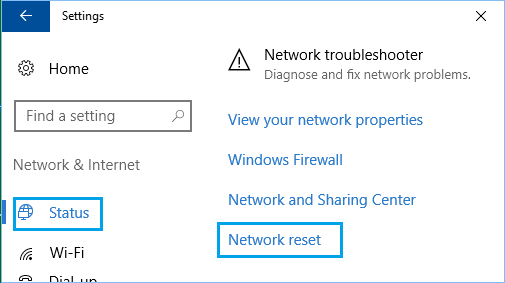
Go to Settings > Network & Internet > scroll down in the right-pane and click on Network Reset.
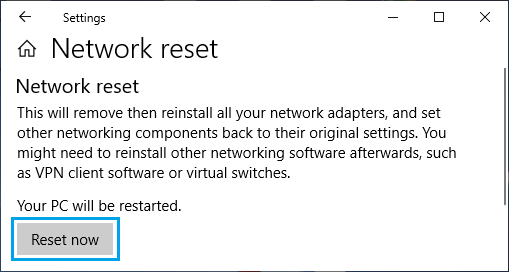
On the Network Reset screen, click on Reset Now button.
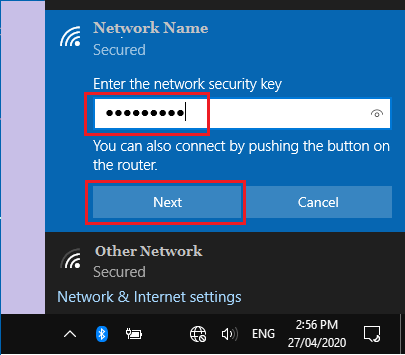
On the confirmation pop-up, select the Yes option to confirm. Once you click on “Yes”, you will briefly see a Command Prompt screen making changes on your computer, followed by pop-up, informing that your computer will shut down in 5 minutes. When the computer restarts, you will find that your network connection is not active and you won’t be able to connect to internet. Just, click on the Network Icon in the Taskbar > select your Network > enter the Password for your Network and click on Next to join your Network.
Hopefully, this should fix WiFi Network Connectivity Issues on your computer.
How to Hide/Block WiFi Networks in Windows 10/11 How to Set Static IP Address in Windows 10