Change DNS Server in Windows 10
By default, Windows 10 automatically configures the network connection on your computer by using DNS Servers of your Internet Service Provider. This automatic DNS Server setting is ideal for most users who do not want to go through the hassle of manually setting up DNS Servers on their computers. However, if you are experiencing slow browsing speed or network connectivity issues, the problem might be due to the DNS Servers of your service provider being crowded or experiencing problems. Another reason for changing DNS Servers is to make use of advanced features like Content filtering, Anti-phishing and Child protection controls as available in OpenDNS.
1. Change DNS Servers in Windows 10
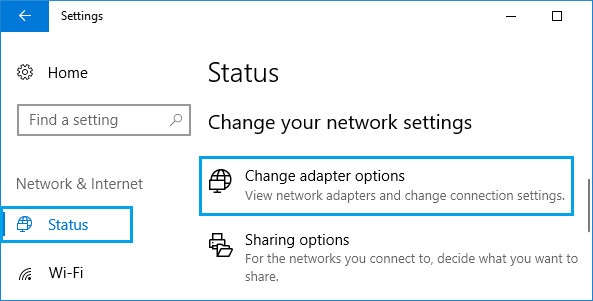
Follow the steps below to change DNS Servers on your computer to either Google DNS or OpenDNS. Go to Settings > Network & Internet > scroll down in the right-pane and click on Change Adapter Options.
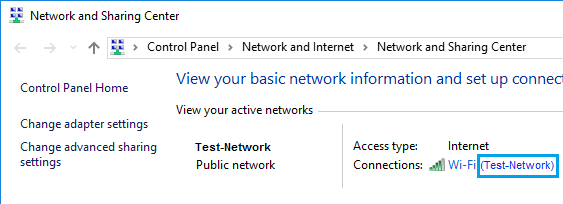
On the next screen, double-click on the active Network Name for which you want to change the DNS Server.
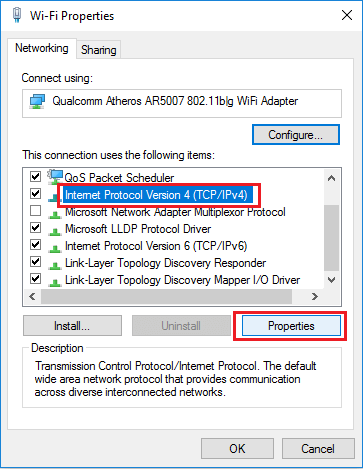
On the next screen, click on the Properties button.
Note: You may be prompted to enter Admin Password, if you are not currently logged-in to your Admin Account. On WiFi Properties screen, select Internet Protocol Version 4 (TCP/IPv4) and click on Properties.
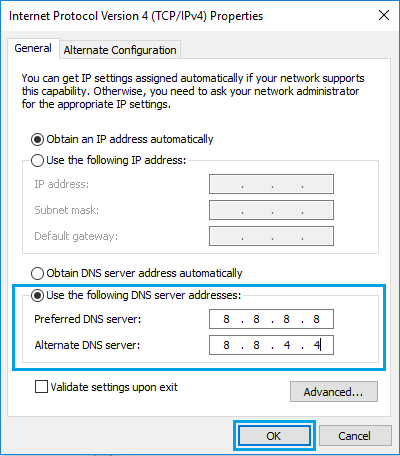
On the next screen, select Use the following DNS Server addresses option and enter 8.8.8.8 as the Preferred DNS Server and 8.8.4.4 as the Alternate DNS server.
Note: If you want to use OpenDNS type 208.67.222.222 in Preferred DNS Server box and 208.67.220.220 in Alternate DNS Server box. Click on OK to save the new DNS Server settings on your computer.
How to Fix DNS Server Not Responding Error in Windows Fix: DNS Probe Finished No Internet Error